John Siegenthaler: Purging principles
Purging plays a major role in the reliable and efficient operation of closed loop hydronic systems.

Nearly all closed-loop hydronic heating and cooling systems are supposed to be filled with water or a mixture of water and antifreeze. The only intentional air in the system is that contained in the expansion tank.
Transitioning a newly minted hydronic system, or an older system that has been drained, from air-filled to water-filled is known as purging. The effectiveness of this purging plays a major role in the reliable and efficient operation of the system.
Nearly all modern hydronic systems rely on two methods for getting air out and moving water in. The first is called forced fluid purging, the second as microbubble elimination. Together they can get the system up and running quickly, and ensure that it remains essential air-free over its full service life.
Old days
Getting air out of hydronic systems wasn’t always straightforward. When I began working with these systems in the late 1970s, the common method of purging was to fill the system from the bottom up, counting on air to exit at multiple air vents or “bleeder” valves on heat emitters or other high points in the system.
In those days, finned-tube baseboard was a very common heat emitter. The typical installation detail was to install a “baseboard tee” at the outlet of each baseboard, where the piping turned downward, as illustrated in Figure 1.

The process of filling and purging the system started by opening all the bleeder valves on the baseboard tees and placing coffee cans in line with the tiny outlet ports on those valves. Pressurized water was then introduced into the lower portion of the system by opening the “fast fill” lever on the system’s pressure-reducing valve or by opening a ball valve that bypasses the pressure-reducing valve. The water raced through the piping, pushing most of the bulk air ahead of it. In a short time, the water level reached the open bleeder valves and sprayed out through those time side ports.
The “trick” was to catch those streams of water before they make a mess. That’s pretty hard to do when the water is squirting out of 4 or 5 bleeder valves at the same time at several locations in the building. It was not uncommon to spill water onto finished flooring.
Even after the majority of the “bulk air” in the distribution system was removed, it took time for the dissolved molecules of oxygen and nitrogen to merge into bubbles large enough for cast iron air scoops to capture and eject it from the system.
In hindsight, these “legacy” methods of purging were slow and inefficient.
Purging progress
Today, the hydronics industry has improved hardware and methods that allow fast and efficient removal of air as the system is filled with water. In most cases, all this can be done from the mechanical room.
One of the modern hardware devices that’s now routinely used is the purge valve, an example of which is shown in Figure 2.

Purge valves combine two ball valves into a single body. One ball valve is in line with the piping being purged, the other is located in a side drain port that’s ends with a male hose thread and cap.
When used in a single circuit hydronic system, a purge valve should be installed as shown in Figure 3.

Bulk air removal begins by closing the inline ball on the purge valve, opening the side port ball, and connecting a hose to the side port as shown in Figure 3. The fast-fill lever on the system’s pressure-reducing valve is opened to allow pressurized water into the system. If the installation has a bypass ball valve installed in parallel with the pressure-reducing valve, as shown in Figure 3, it would also be opened to increase the incoming water flow rate. The closed inline ball in the purging valve forces the entering water to flow through the circuit in one direction, pushing air ahead of it.
The key to good purging is to create high water flow velocity through the circuit. The flow velocity should be at least 4 feet per second. This lets the water act as a liquid “piston,” pushing most of the air in the piping and components ahead of it, and eventually back to the purge valve where it exits through the side port of the purge valve. In small residential systems, it may only take a few seconds for a fast-flowing water stream to push the bulk air out the side port of the purging valve and through a hose leading to a capture bucket or a drain. The system’s circulator can be turned on at this point to further increase flow velocity through the circuit.
Once the existing water stream is free of visible bubbles for several seconds, the side port of the purging valve is closed. System pressure will immediately rise as the building’s plumbing system pressure pushes more water into the expansion tank. It’s important to close the fast-fill bypass ball valve — if present — and the fast-fill lever on the pressure-reducing valve within a second or two of closing the side port of the purging valve. If you’re slow at this, expect some discharge from the system’s pressure relief valve. If the system now has higher than necessary pressure, just crack open the side port of the purging valve to “bleed” the system down to the desired static pressure.
The final scrub
The above process is “forced water purging.” Done properly, it gets the vast majority of the “bulk air” out of the system. However, the freshwater that’s now in the system still contains between 2% and 4% dissolved gas molecules, including oxygen and nitrogen. You can’t see this dissolved “air,” but it will show itself as soon as the water is heated. Well-designed systems can quickly capture and eliminate it.
The system shown in Figure 3 includes a microbubble air separator. This device contains a coalescing media that coaxes the dissolved gas molecules to form tiny microbubbles. The coalescing media also provides pathways for these microbubbles to rise above the active flow zone in the separator and merge together at the top of the separator. After a small volume of air collects in the upper portion of the separator it is ejected through a float-operated valve. The pressure within the system is what pushes the captured air out.
Microbubble air separators are a tremendous improvement over legacy cast-iron air scoops, and, in my opinion, should be used in every modern hydronic system.
Coaxing dissolved gases out of the system fluid takes time — sometime several days. The efficiency of dissolved gas removal is greatly improved if the system fluid is heated. Hot water (or hot antifreeze solutions) cannot retain as much dissolved gas as cool water, and thus “give up” dissolved air more willingly as they pass through the air separator. Eventually, the microbubble air separator, in cooperation with an automatic make water system, or an automatic fluid feeder, will reduce the air content of the system to an insignificant level and keep it there.
Multiple zone systems
Most modern hydronic systems are not as simple as the one shown in Figure 3. They contain multiple zone circuits or other parallel piping paths. The most efficient way to purge those systems is to install a purging valve near the return end of each circuit, as shown in Figure 4.

The purging procedure is similar to that previously described. What’s different is that each zone circuit is purged one at a time. Doing so maximizes flow velocity through each circuit.
When the purging valve on one zone return has a bubble-free return flow, close the inline ball on the purging valve and stop the cold water at the make-up water system. Move the hose to the next purging valve and repeat the procedure. Keep doing this until each zone is purged. After the water is forced into each zone, the zone circulator can also be turned on to further increase purging velocity. The microbubble air separator will again do the final clean-up by capturing dissolved gases and ejecting them from the system.
P/S purging
In the case of primary-secondary systems, I recommend using a purging valve on the return side of each secondary circuit as shown in Figure 5.

This approach eliminates the need for a ball valve between each set of closely spaced tees — the sole purpose of which is to force water through the secondary circuit during purging. The combination of the purging valve on the return side of the secondary circuit along with isolation flanges on each secondary circulator allows each secondary circuit to be completely isolated if necessary.
Start the purging procedure by isolating all secondary circuits, then purge the primary loop using the previously described procedure. Once the primary loop is purged, set up another hose and purge each secondary circuit one at a time.
Pumped purging
Some hydronic systems may not have access to pressurized cold water systems for purging. Other systems may need to be filled and purged with a premixed antifreeze solution. Both of these scenarios can be handled using a double port purging valve such as the one shown in Figure 6.

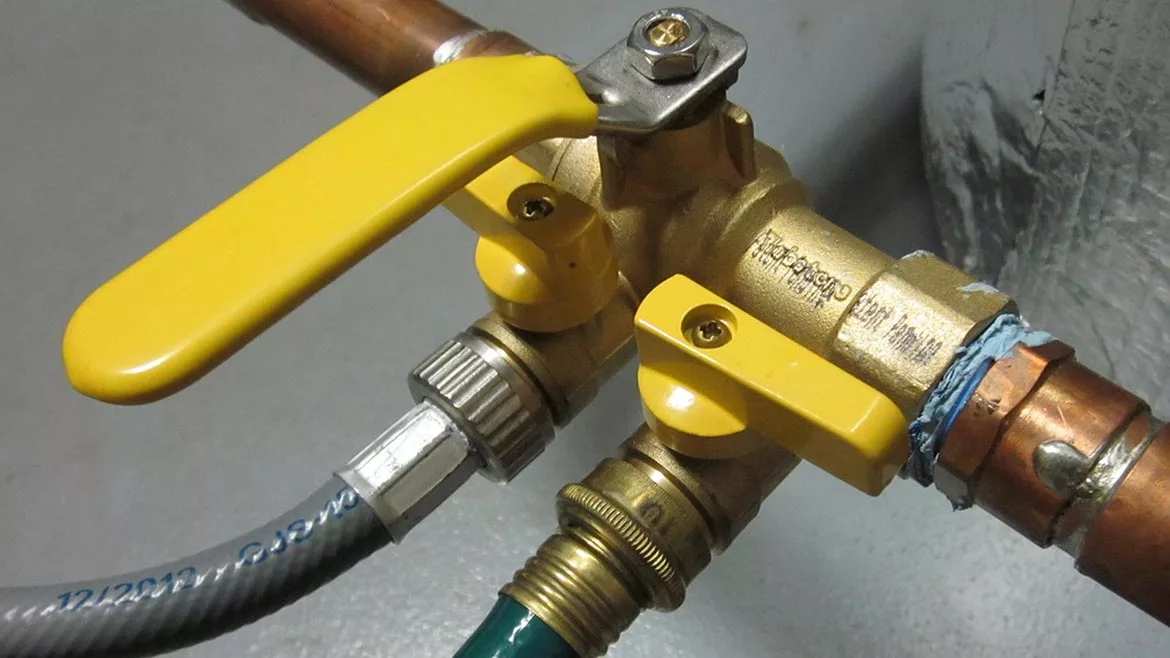
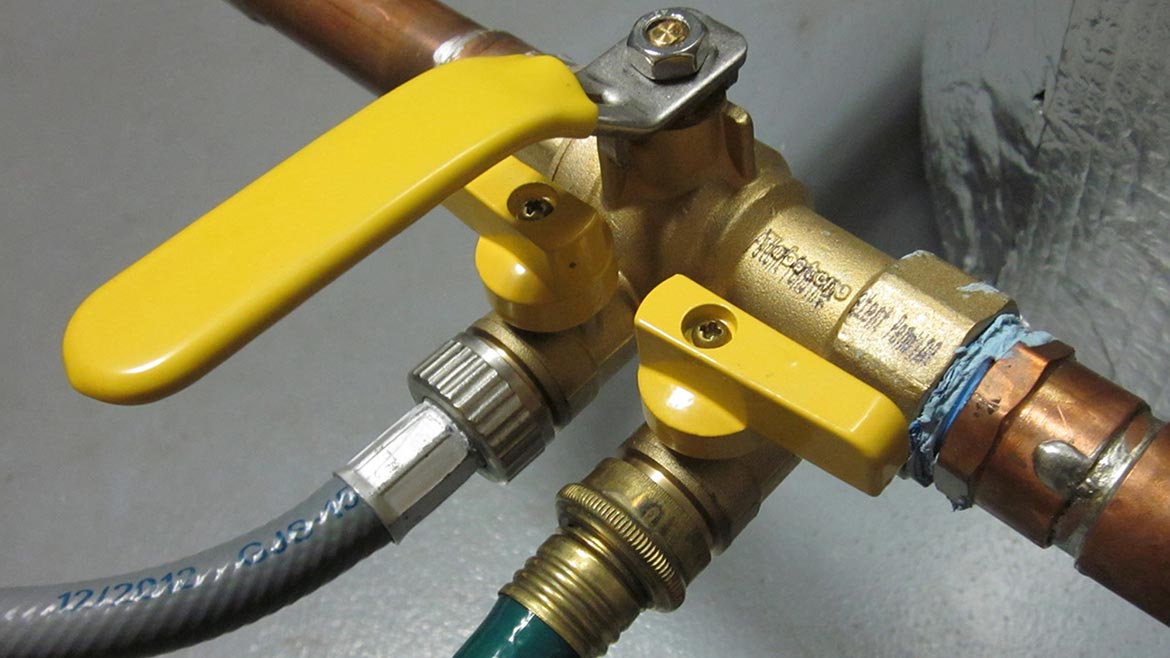
Double port purging valves combine two side port ball valves with a single inline ball valve. One side port allows fluid (water or antifreeze solution) into the system. The other lets air out of the system. A typical circuit using a double port purging valve is shown in Figure 7.

A submersible pump is commonly used to force fluid into and around the circuit. Air exits the upstream side port of the purge valve. Eventually, a stream of fluid flows from the exit port and is carried back to the fluid reservoir.
It’s important to keep the end of the return hose under the fluid level in the reservoir so as not to create bubbles that get pulled back into the purging pump.
The purging pump is operated until the return stream is free of bubble for several seconds. At that point, the outlet port of the purge valve is closed. This allows the purge pump to increase the system pressure. Fluid is forced into the expansion tank until the system pressure reaches the maximum (no flow) pressure of the purge pump. The final step is to close the inlet valve on the purge valve and turn off the purge pump. If additional pressure is needed in the circuit, more fluid can be added using a hand pump.
With modern hardware and methods, it’s possible to expeditiously purge air from just about any hydronic system, and do it all from the mechanical room. The legacy techniques of wiring coffee cans to baseboard tees equipped with “coin vents,” and then racing between rooms to prevent spills, are skills that modern hydronic pros don’t need to practice.
Figures courtesy of John Siegenthaler. Hero image: gradyreese / iStock / Getty Images Plus via Getty Images.
Looking for a reprint of this article?
From high-res PDFs to custom plaques, order your copy today!


